
Building Passive Video Series
A comprehensive and educational first-hand video series about the design and construction of high-performance Passive House assemblies.
A comprehensive and educational first-hand video series about the design and construction of high-performance Passive House assemblies.
Guided by our good friend (and collaborator on this video-series project) Andy Pease from In Balance Green Consulting, we made a video series documenting different assemblies and aspects of this build.
Let's start at the beginning. This site required more excavation and infill than we thought (shout out to SLO and its clay soil!) but we got that done and brought in some cool new (to us) products to complete the slab install. Andy Pease from In Balance Green Consulting helps us stay on topic in this short vid.

With framing complete, it is time to wrap the house! This can be done in various materials as long as it is done right. Two of us wrapped this house in a couple of days, including exterior insulation, with a bit of goofing around and a lot of John Prine. It's not a hard step but a wicked important one.

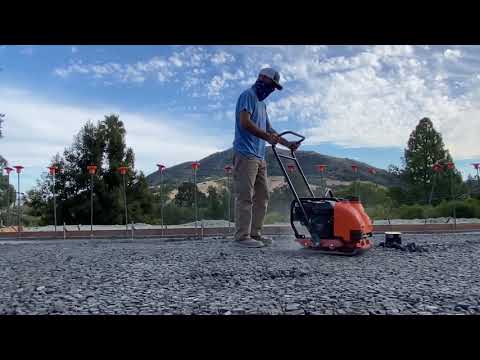
GLAVEL is a recycled glass aggregate product out of Vermont that doubled as our gravel layer AND our under-slab insulation. With an R-1.7 per compacted inch, it worked well to provide us the insulation we needed. It was also super easy to lay down. Two of us opened the bags, spread it out with a rake/shovel (well for the first go…then we realized it might be smarter to dump the bags using a machine ;) and then used a compactor to finish it up. This stuff is super light and feels like pumice stone, but once compacted makes a strong structural base. Recycled products make us feel groooovy!
We start our building process by making a wall assembly mock-up on site. It helps us to practice our joints and junctions and allows the subs to see how our airtightness will work. The best feeling is coming back to the site and seeing others studying it to get the wall done right! For San Luis Obispo, a rain screen assembly is an awesome choice. The wall will get wet, so we have to give it room to shed that water. Careful planning of this assembly ahead of time made for quick execution on site!
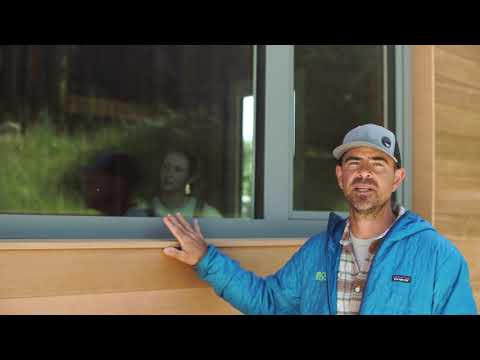
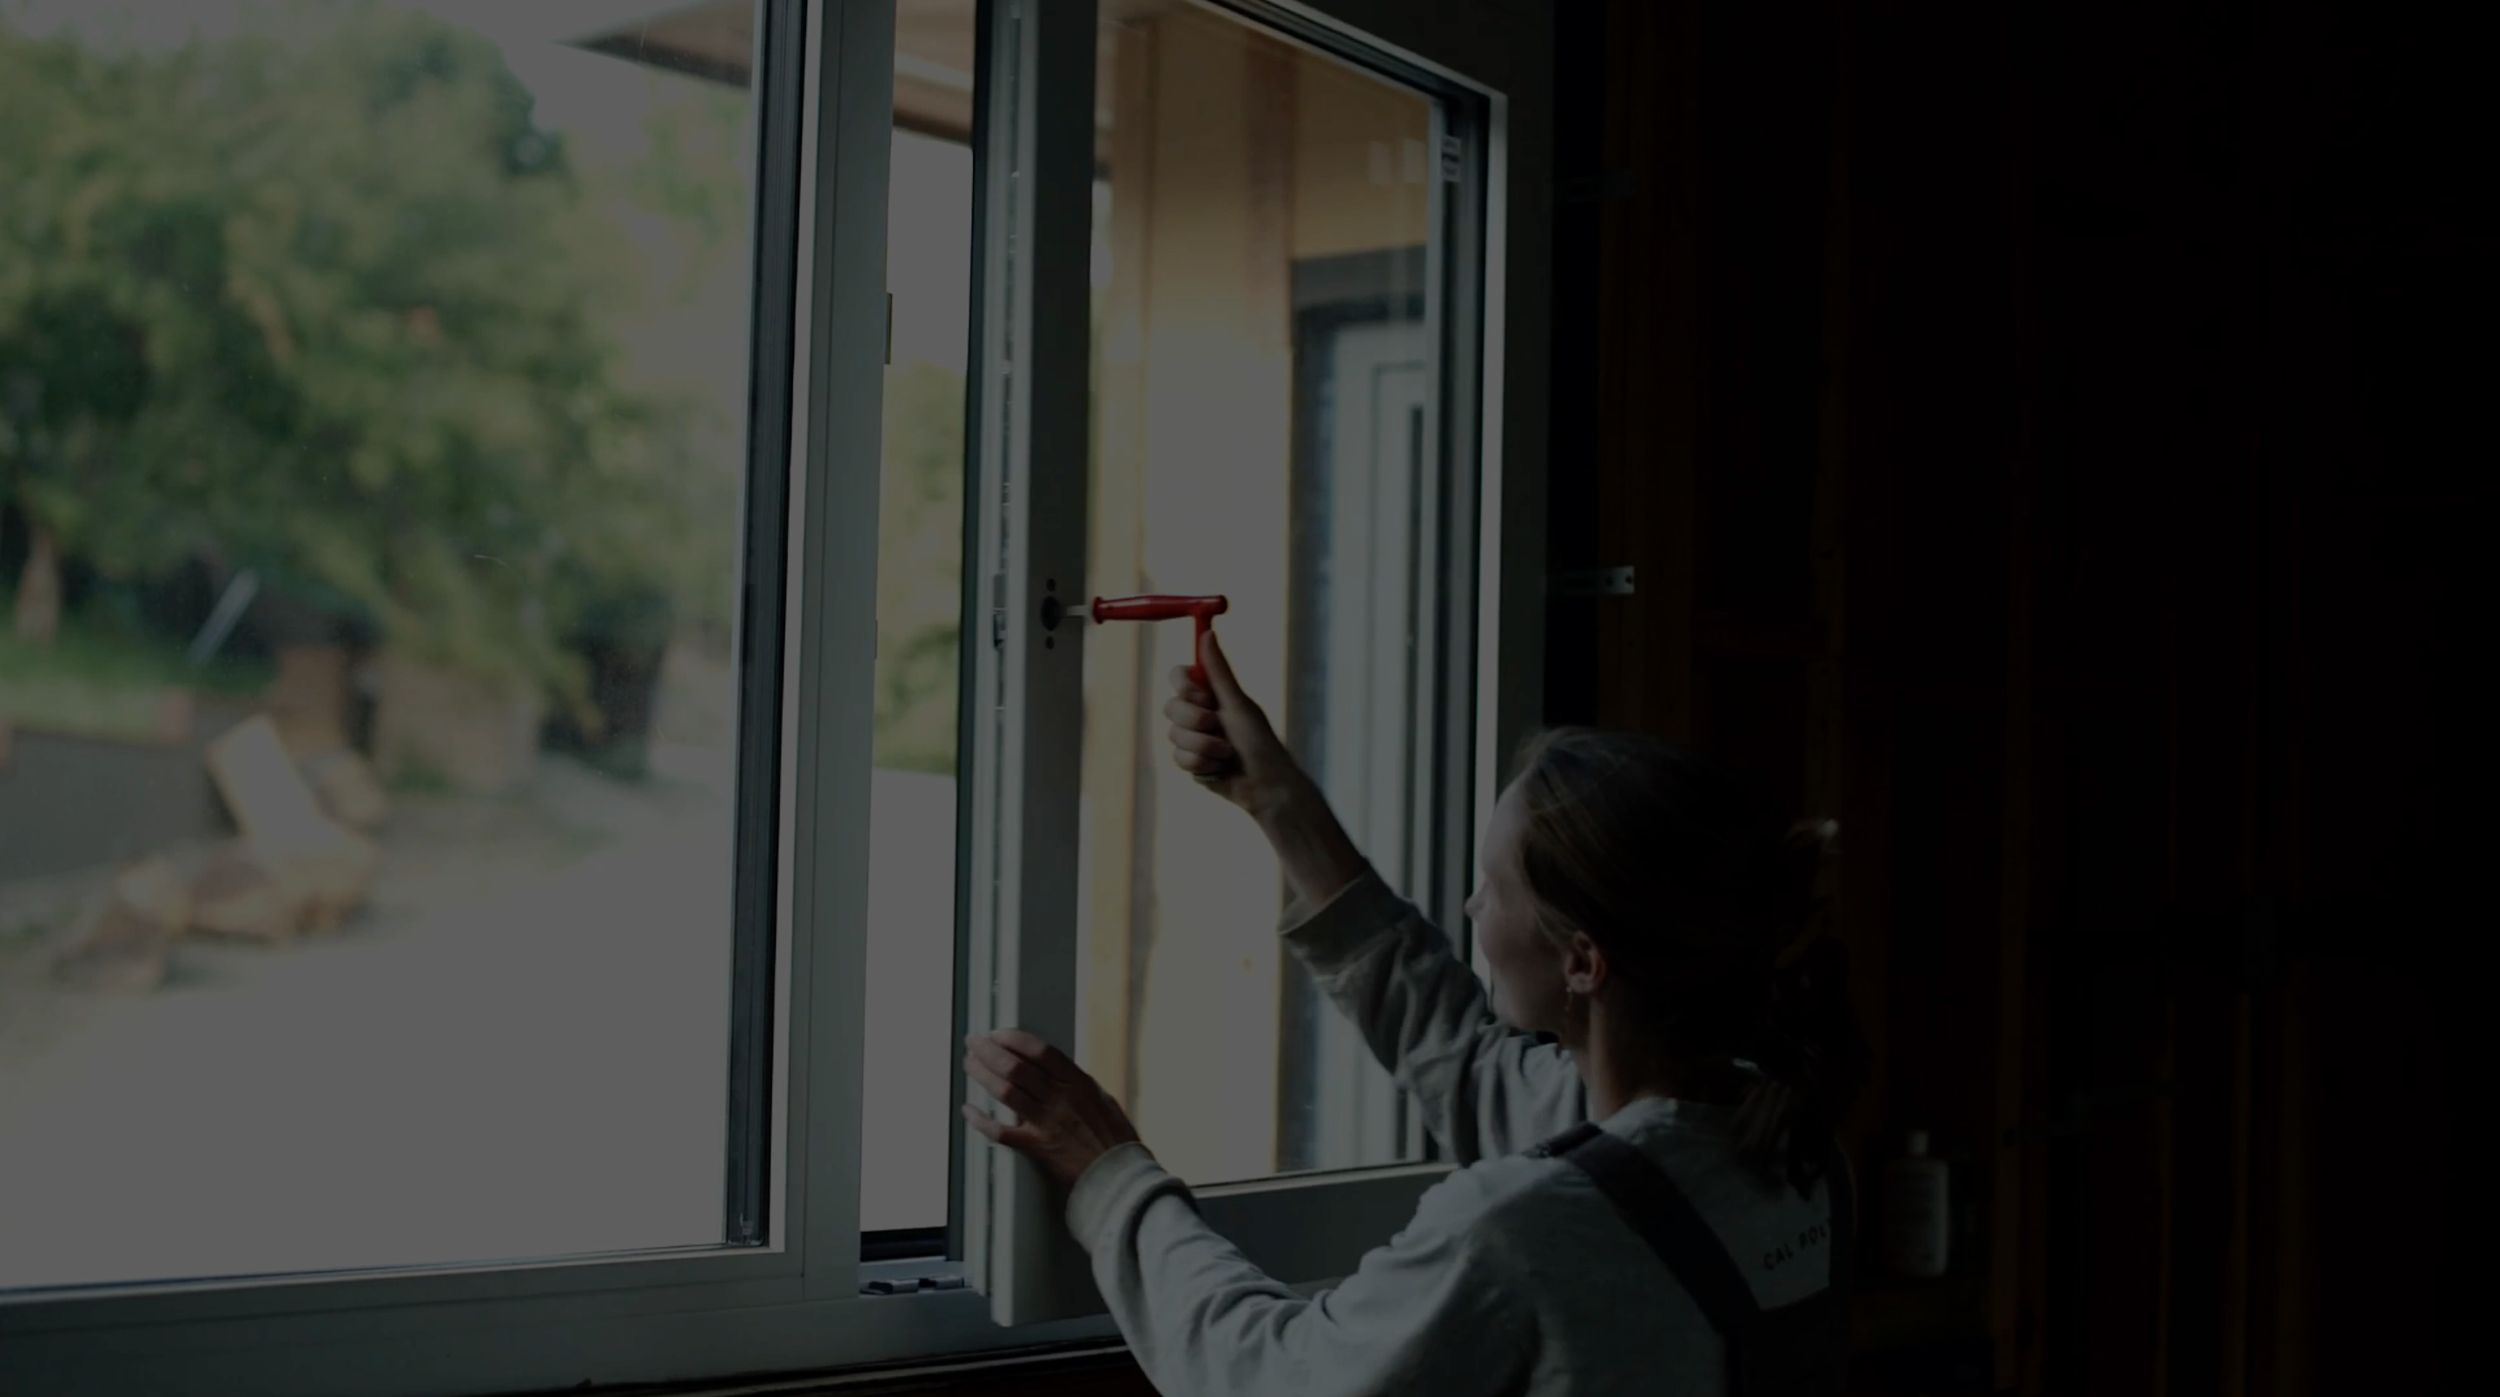
Windows...the eyes to the world and the pains in our butts. It's so important in Passive House construction to not sacrifice our views and daylighting for airtightness and performance. High quality windows let there be a balance and allow us to highlight the reason that a client bought a property in the first place. And they are just freakin' nice to work with.
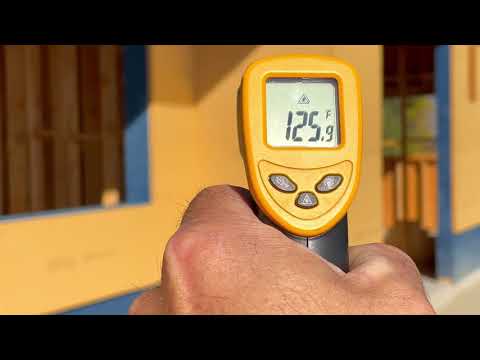
Exterior Insulation, a.k.a. our puffy jacket on this house, provides us with a lot of benefits. Comfort, temperature regulation, and sound attenuation are just a few. Special thanks to Andy Pease for walking us through the psychrometric chart to help illustrate just how much this simple step (it took us about 3 days with a crew of 2) can boost the efficiency of the home. Right on.
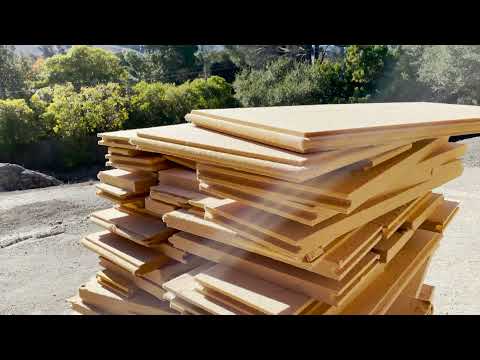
When you learn that there is a better product out there for the big three (people, planet, profit) you've got to use it. It just so happens that the process to use this product was also easy, felt much safer than being covered in foam, and was cost-effective. For the Bishop House we used inch and a half Gutex Multitherm to wrap the entire exterior of our conditioned envelope. Definitely worth a look!
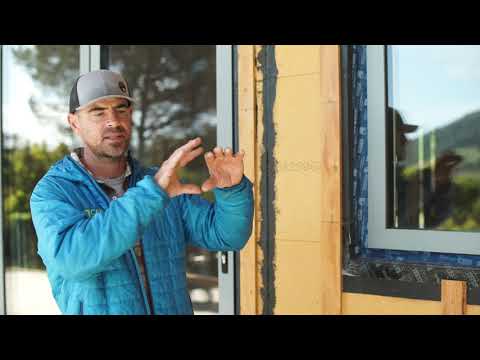
When constructing an airtight home, transitions are the spots that will make or break the project. In typical construction, theses are the places that could turn an otherwise comfortable home into an oven or an ice box. As tedious as these details may be, they are crucial for achieving that continuous insulation and airtight boundary. In this video we will also discuss one thermal bridge we do have and our reasons for it. It's time to transition to a smarter way of building!
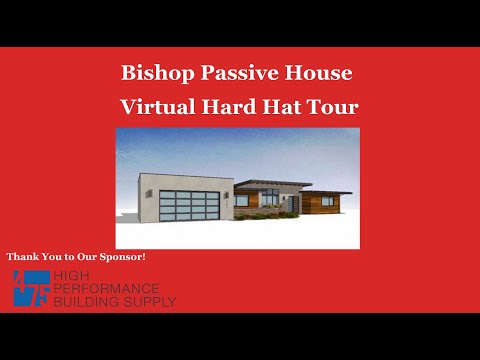
The Bishop Passive House is a 3,000 SF single-family residence located near Bishop Peak in the city of San Luis Obispo. The project is fossil-fuel-free and pursuing Passive House International (PHI) Certification. The home features an airtight building enclosure; continuous exterior insulation; a balanced fresh-air exchange ventilation system with heat recovery; carefully designed and detailed windows and doors; and a singular, centrally-located, heat-pump conditioning system. The building materials used during enclosure construction are plant-based, largely recycled, and most have obtained Declare Label certification from the Living Future Institute.
The Bishop Passive House is a one-story 2400 sq ft project seeking PHI Certification on the Central Coast of California (peep the sunny views). We got the opportunity to share this video at the North American Passive House Network conference, and it was pretty surreal to see ourselves up there! Excited to finish this project and continue the Passive House momentum in California. Check out passivehousecal.org to learn more about the movement!